Branding
Requirements (on-premise)
GLPI Version |
Minimum PHP |
Recommended |
|---|---|---|
10.0.x |
8.1 |
8.2 |
备注
A basic licence (or higher) is required. This plugin is also available from the Cloud.
Install the plugin
Go to the marketplace. Download and install the Branding plugin.
Customize your instance
Go to administration > entities > branding tab
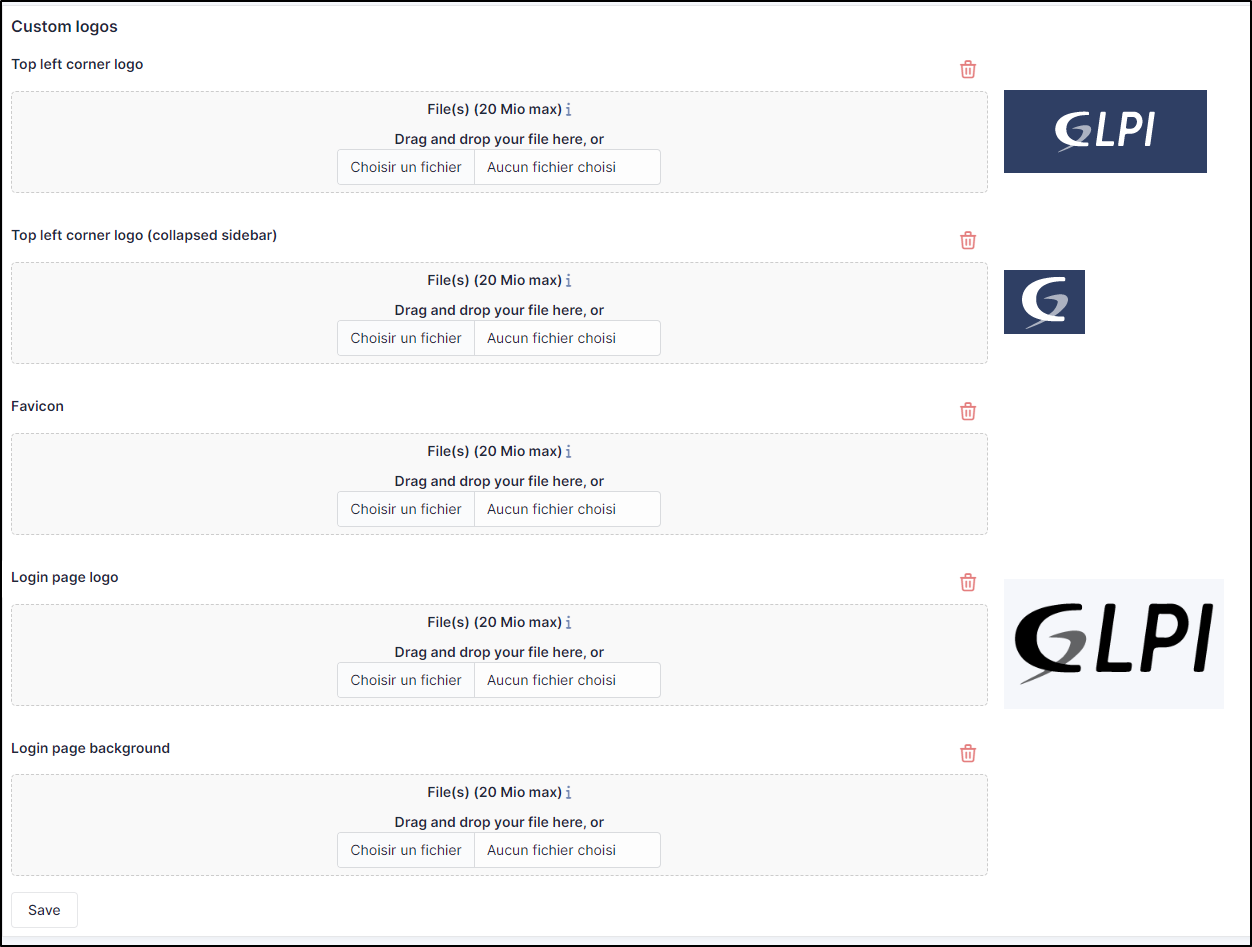
Here you can replace :
the logo at top left (including folded bar)
the logo on the login page,
the background of the login page,
the icon in the browser bar
Custom by entity
You can modify certain elements by entity:
the logo at top left (including folded bar)
the icon in the browser bar
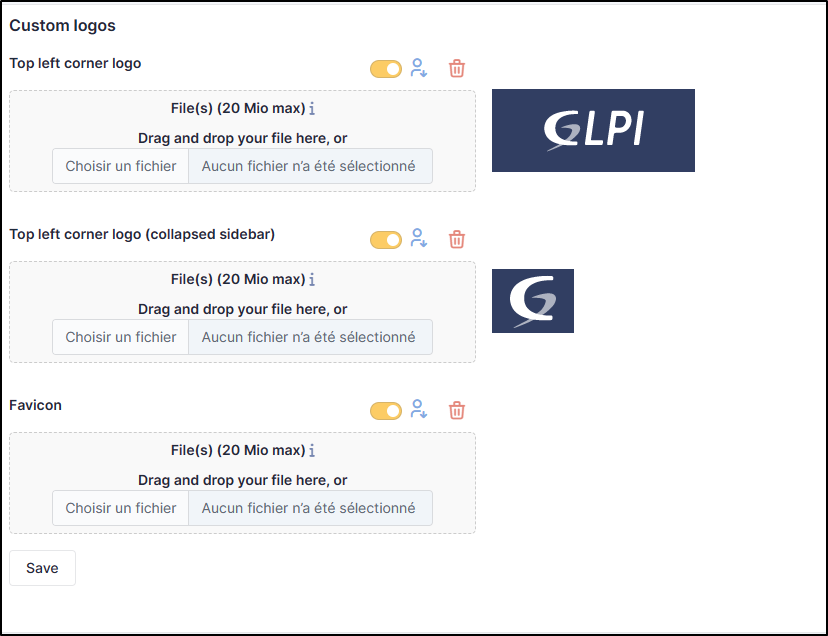
Other customisations are common to all entities
Recommendations
Top Left corner logo - This can be changed according to the desired entity It is the logo you see when your GLPI page is opened and the left sidebar is expanded
Default recommended size: 100x55 pixels
Lop Left corner logo (collapsed sidebar) - This can be changed according to the desired entity It is the logo you see when your GLPI page is opened and the left sidebar is collapsed.
Default recommended size 40x40 pixels
Favicon It is the logo you see next to the page title at the beginning of your browser’s the tab.
Default recommended size: 16x16 or 32x32 pixels
Login page logo It is the logo you see before you login. It appears with the fields to fill with your username and password
Default recommended size: 220x130 pixels
Login page background It is the image you can add as a background at the login page.
Default recommended size: It depends on the usual size of your screens. The bigger, the better. (Make sure not to surpass the maximum upload limit for files)
FAQ
If you have any questions about using the plugin, please consult our FAQ
