Azure portal
References:
Setup
Connect to your Azure portal and go to the Azure Active Directory > Enterprise applications menu.
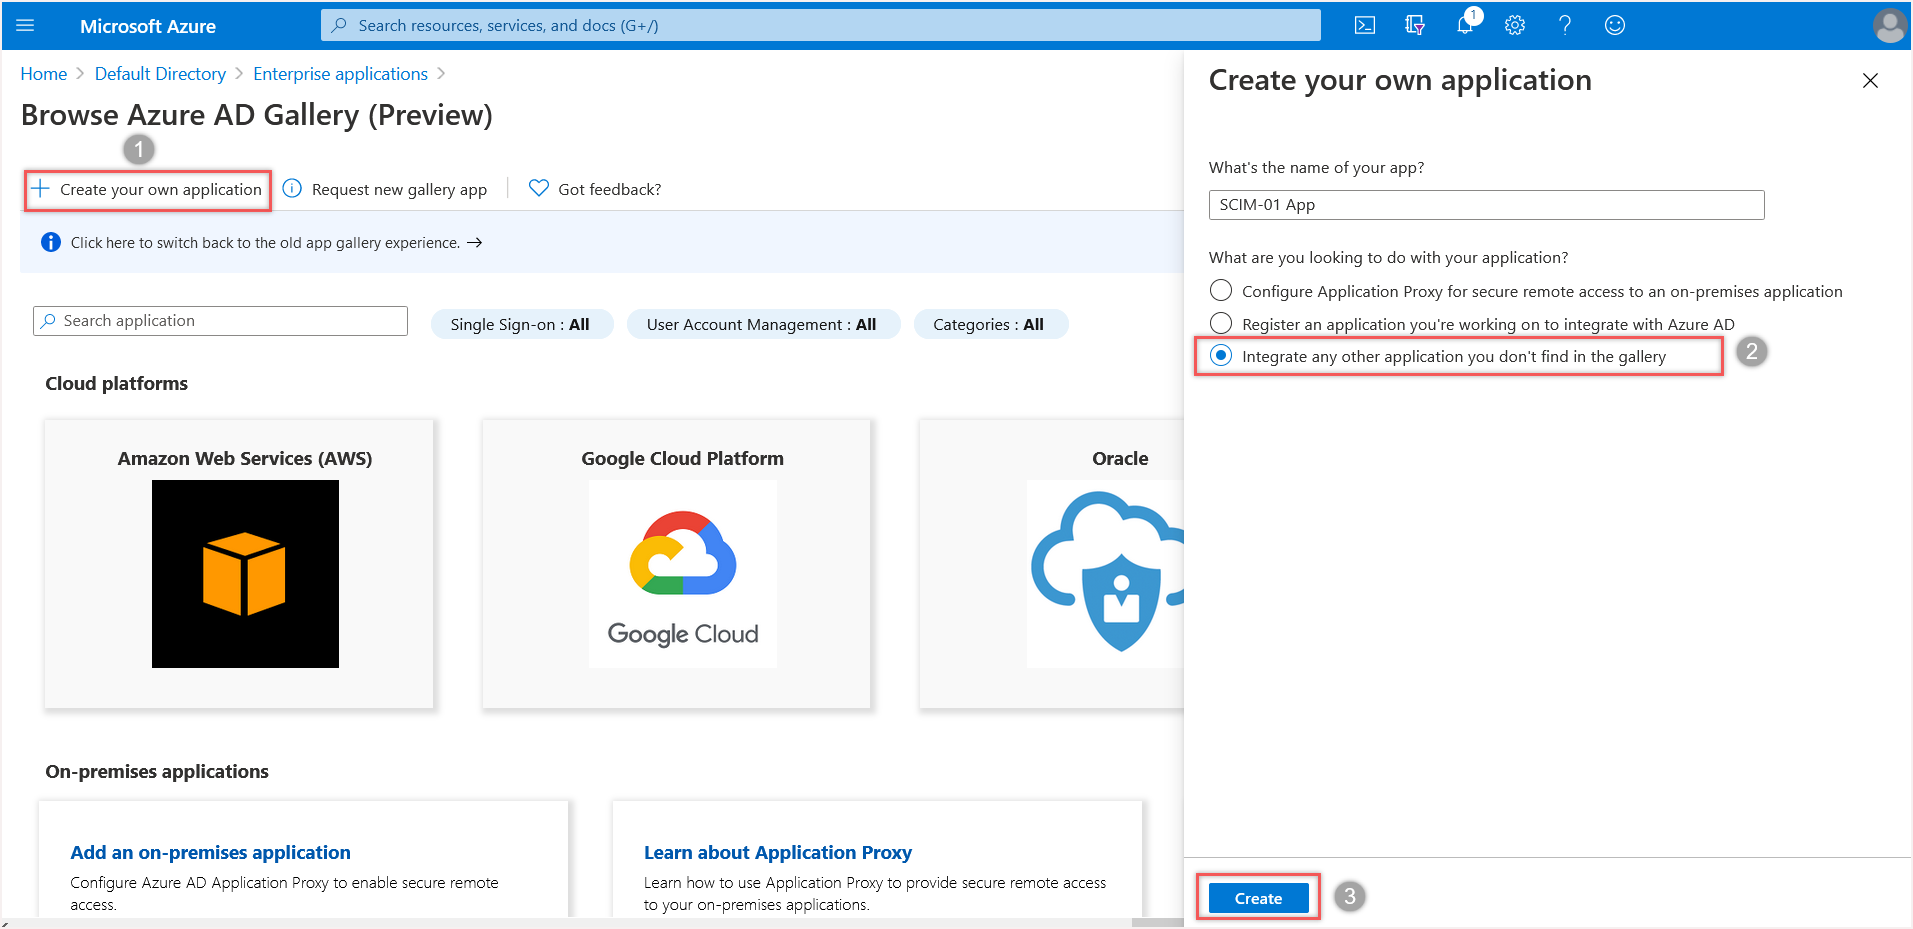
Select New application and choose Create your own application.
Choose a name for your application, select Integrate any other application you don’t find in the gallery (Non-gallery) and click on the [Create] button.
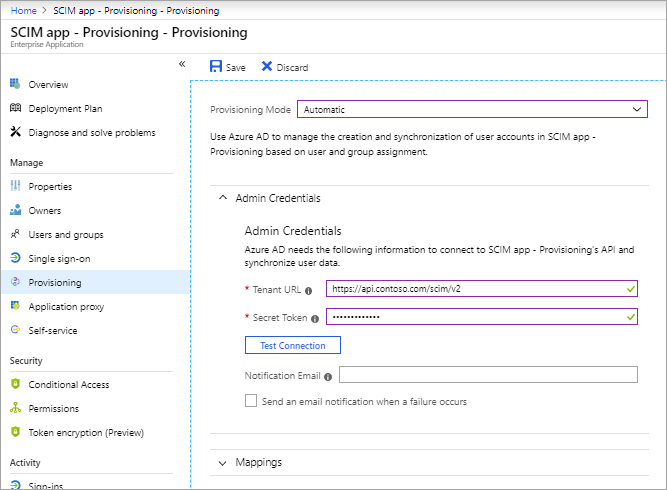
In the “Provisioning” section,
Select Automatic,
Fill Tenant Url with the API url of your SCIM server you copied from the plugin configuration.
Optionally, fill Secret field: For Azure, the awaited secret is a long life valid jwt token. We cannot use an oauth exchange (Azure doesn’t ask for an authorize URL). So in GLPI, setup you SCIM server with Bearer security and paste the JWT token from GLPI in the Secret token field of Azure.
Click on the Test connection button to validate your parameters.
If the test succeed, click on the [Save] button.
You must choose in the Parameters > Extended section how you want to synchronize your users and groups:
Only users and groups assigned to the application. In this case, you must manually assign your users and groups to the application in the Users and groups section.
All users and groups in the directory
After checking the mapping section, enable the Provisioning at the bottom and click on the [Save] button.
You can check the advancement in the Provisioning logs section. Usually it start after a few minutes.
